Akemi

AIGC工具MoneyPrinter部署与使用

2026/03/20

环境准备

1
2
3
4
5
6
7
8
9
10
11
12
13
14
15
16
17
18
19
# 切换WSL1到2(如果原本使用的是WSL1
dism.exe /online /enable-feature /featurename:VirtualMachinePlatform /all /norestart
wsl --set-version Ubuntu-22.04 2
wsl --set-default-version 2

# 升级wsl
wsl --update
# 使用systemd
echo -e "[boot]\nsystemd=true" | sudo tee -a /etc/wsl.conf
wsl --shutdown

# 验证systemd,如果输出为'systemd'就正常
ps -p 1 -o comm=

# 安装依赖
sudo apt update
sudo apt install -y git python3-pip python3-venv ffmpeg imagemagick
sudo apt install -y libjpeg-dev zlib1g-dev libpng-dev libfreetype6-dev
sudo apt install -y build-essential python3-dev

安装本地大模型ollama

1
2
3
4
5
6
7
8
9
10
11
12
13
# 本地部署
sudo apt-get install zstd
curl -fsSL https://ollama.com/install.sh | sh
# 验证
sudo systemctl is-active ollama
ss -tunlp | grep 11434
tcp LISTEN 0 4096 127.0.0.1:11434 0.0.0.0:*

# 验证NVIDIA驱动,windows上安装驱动即可
nvidia-smi

# 拉取模型,你想用啥用啥
ollama pull llama3.1:8b

安装与配置MoneyPrinter

1
2
3
4
5
6
7
8
9
10
11
12
13
14
15
16
17
18
19
20
21
22
23
# 克隆git与同步环境
git clone https://github.com/FujiwaraChoki/MoneyPrinter.git
cd MoneyPrinter

# 安装uv
curl -LsSf https://astral.sh/uv/install.sh | sh
source $HOME/.local/bin/env
uv --version
# uv 0.10.12 (x86_64-unknown-linux-gnu)

uv python install 3.12
uv sync --python 3.12

# 配置
cp .env.example .env

# 填入PEXELS_API_KEY(素材库
# 官网https://www.pexels.com/api/

# 填入AssemblyAI的api-key(字幕
# 官网www.assemblyai.com

# 这俩都是免费的

启动与管理MoneyPrinter

1
2
3
4
5
6
7
8
9
10
11
12
13
14
15
16
17
18
19
20
21
22
23
24
25
26
27
28
29
30
31
32
33
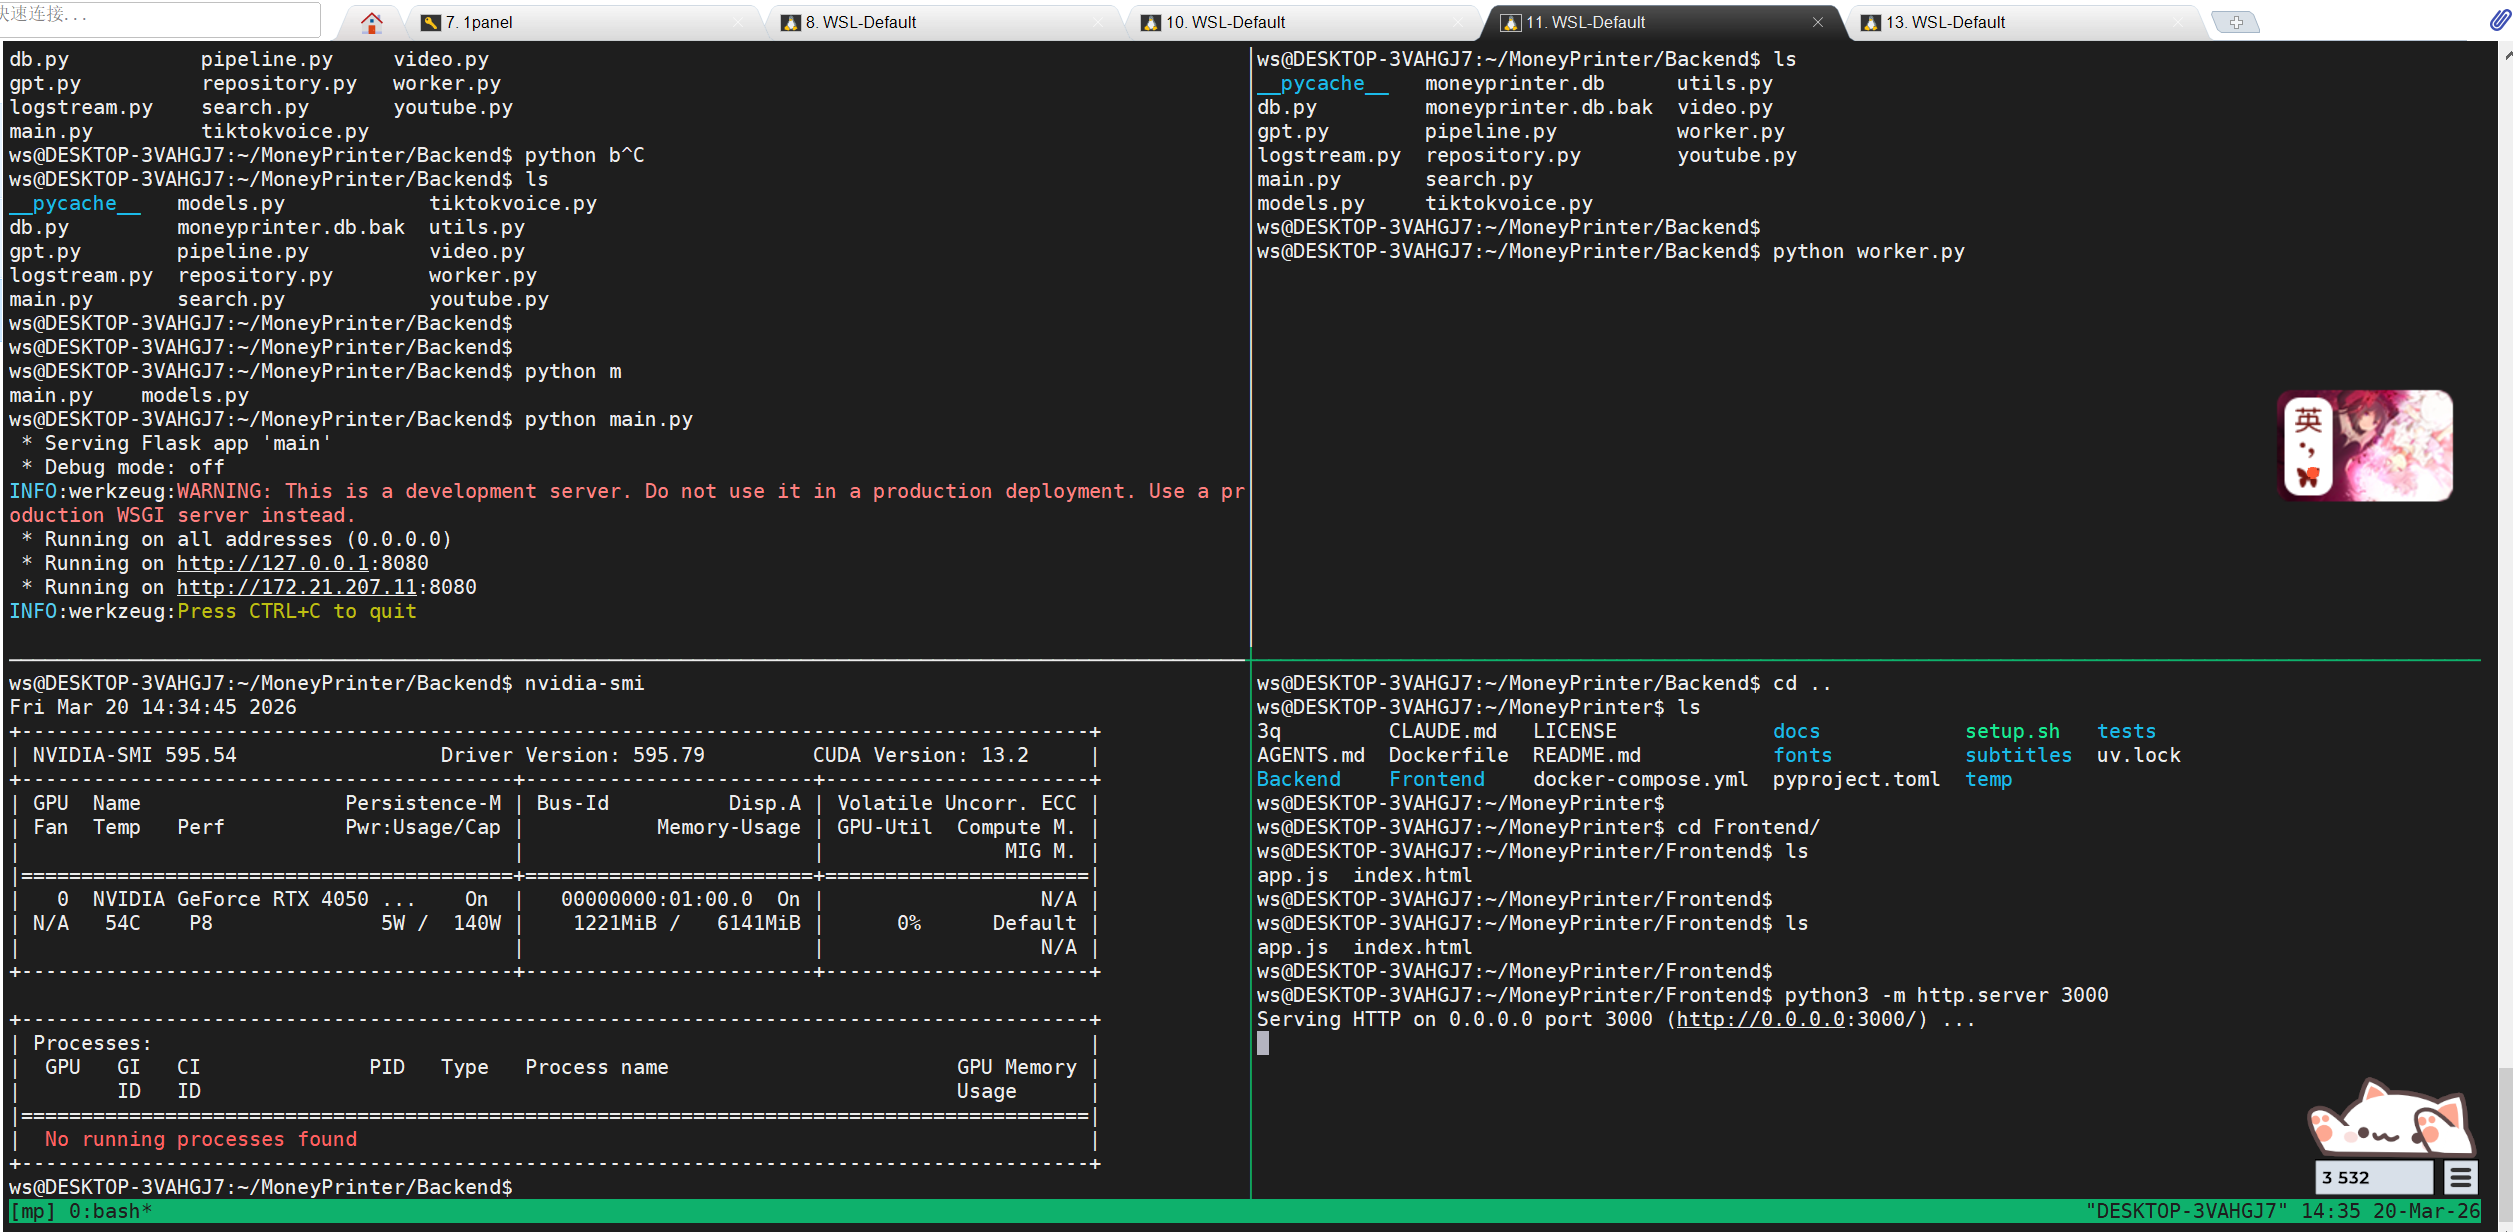
# 启动后端
cd Backend/
export no_proxy="localhost,127.0.0.1"
python main.py

* Serving Flask app 'main'
* Debug mode: on
INFO:werkzeug:WARNING: This is a development server. Do not use it in a production deployment. Use a production WSGI server instead.
* Running on all addresses (0.0.0.0)
* Running on http://127.0.0.1:8080
* Running on http://172.21.207.11:8080
INFO:werkzeug:Press CTRL+C to quit
INFO:werkzeug: * Restarting with stat
WARNING:werkzeug: * Debugger is active!
INFO:werkzeug: * Debugger PIN: 434-739-362

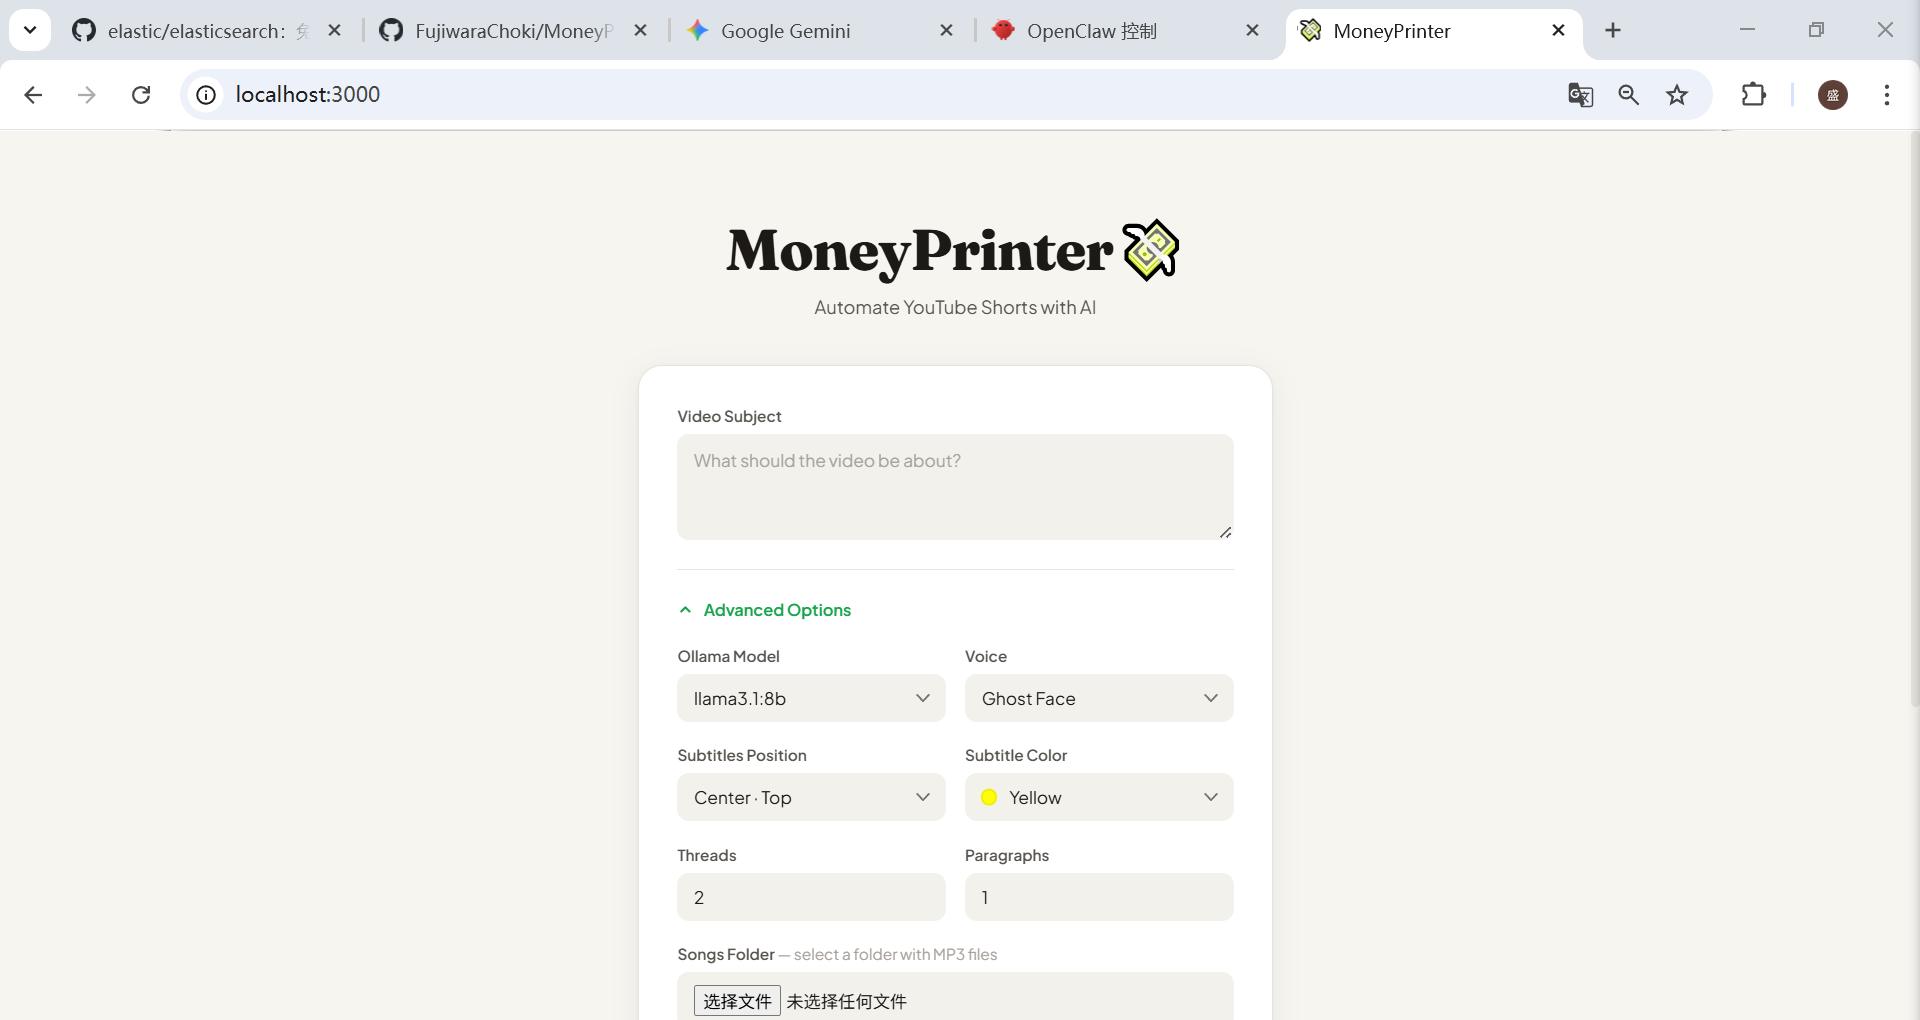
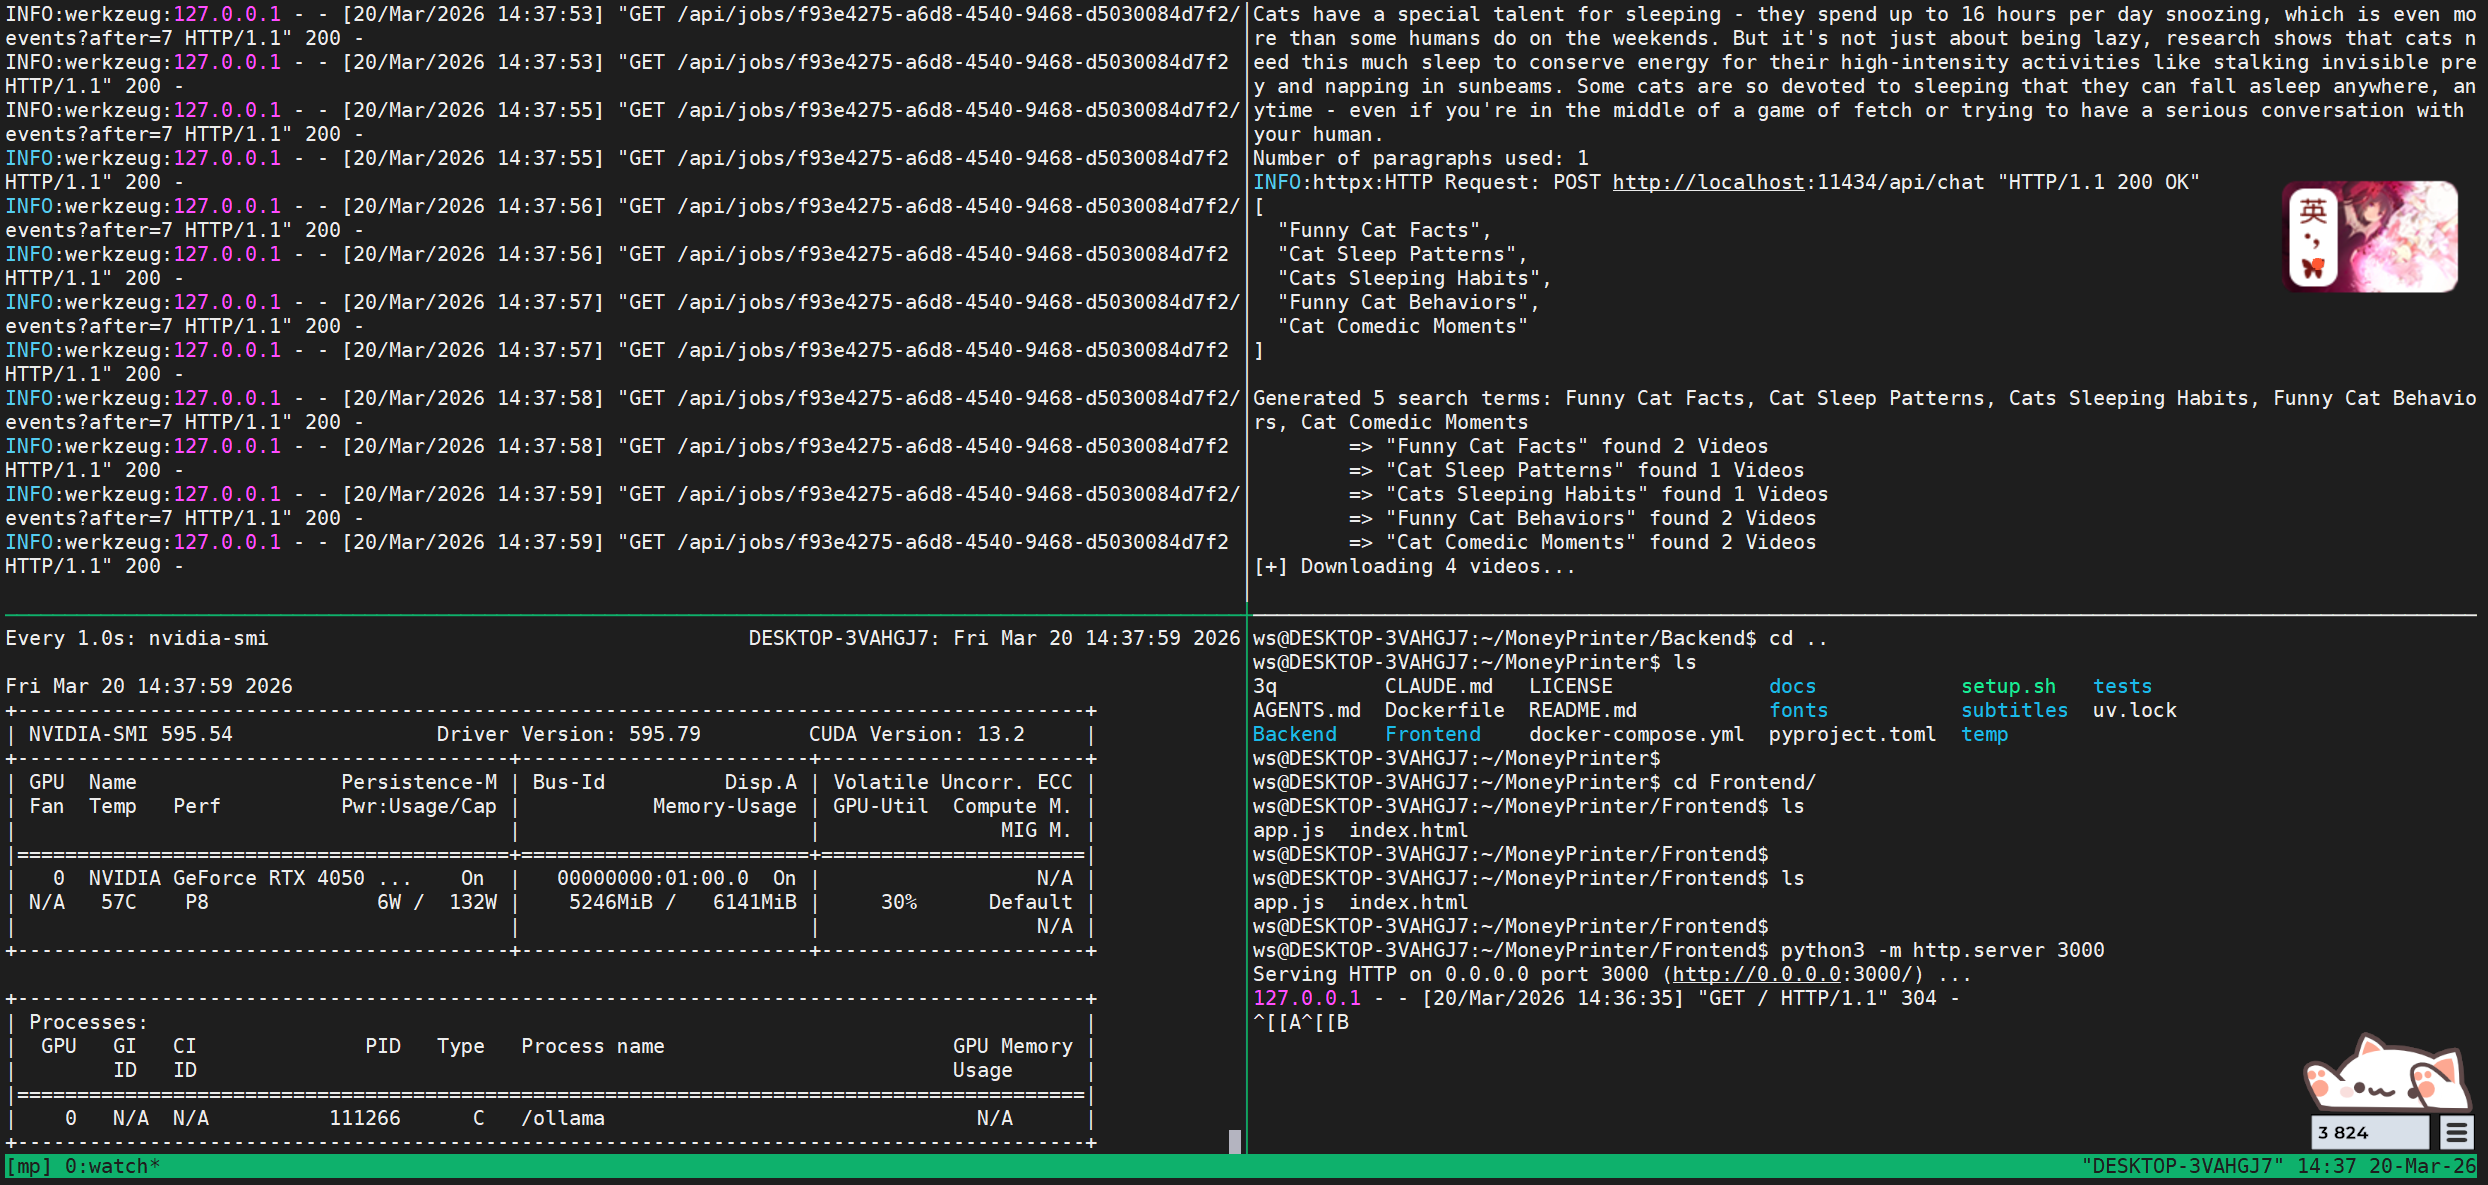
# 启动前端
cd ~/MoneyPrinter/Frontend/
python3 -m http.server 3000
Serving HTTP on 0.0.0.0 port 3000 (http://0.0.0.0:3000/) ...

# 启动消费者进程
cd ~/MoneyPrinter/Backend
python worker.py

# 访问前端页面http://localhost:3000/
就可以看到了

总的流程是这样:
1.前端请求
2.后端将任务写入SQLite(moneyprinter.db)
3.worker.py扫描数据库,发现有queue任务则将其改为processing
4.worker.py调用本地模型llama3.1:8b

使用tmux开多窗口管理

测试生成视频

在网页端进行网页生成测试,提示词就简单写就行,执行后可以看到有GPU内存已经被占用了5G了

不过我这里失败了,估计跟网络环境有点关系,这个生成视频的过程中,会去访问另外那些提供音频的网站,等回家再试试

CATALOG
  1. 1. 环境准备
  2. 2. 安装本地大模型ollama
  3. 3. 安装与配置MoneyPrinter
  4. 4. 启动与管理MoneyPrinter
  5. 5. 测试生成视频