Akemi

Helm

2024/05/06

如果出现无法载图的情况,请检查与github的连通性

概述

官网:Helm | Docs

Helm chart官网:Kubeapps | Home

helm是kubernetes的包管理工具,相当于yum或apt。它的目标让kubernetes部署更加轻松

基本概念

  1. helm:命令行客户端工具。用于chart的创建打包管理发布
  2. chart:helm程序包,是一组描述k8s资源相关文件的集合,就是yaml文件的打包

helm可以根据同一套chart,创建不同名字的release。但本身调用的文件是相同的,创建出来的东西本身在功能和特性、标签什么的都完全一致。

Helm部署

目前最新版是Helm v3.14.4,我的k8s版本为1.28

对应关系:Helm | Helm版本支持策略

Helm 版本 支持的 Kubernetes 版本
3.12.x 1.27.x - 1.24.x
3.11.x 1.26.x - 1.23.x
3.10.x 1.25.x - 1.22.x
3.9.x 1.24.x - 1.21.x
3.8.x 1.23.x - 1.20.x
3.7.x 1.22.x - 1.19.x
3.6.x 1.21.x - 1.18.x
3.5.x 1.20.x - 1.17.x
3.4.x 1.19.x - 1.16.x
3.3.x 1.18.x - 1.15.x
3.2.x 1.18.x - 1.15.x
3.1.x 1.17.x - 1.14.x
3.0.x 1.16.x - 1.13.x
2.16.x 1.16.x - 1.15.x
2.15.x 1.15.x - 1.14.x
2.14.x 1.14.x - 1.13.x
2.13.x 1.13.x - 1.12.x
2.12.x 1.12.x - 1.11.x
2.11.x 1.11.x - 1.10.x
2.10.x 1.10.x - 1.9.x
2.9.x 1.10.x - 1.9.x
2.8.x 1.9.x - 1.8.x
2.7.x 1.8.x - 1.7.x
2.6.x 1.7.x - 1.6.x
2.5.x 1.6.x - 1.5.x
2.4.x 1.6.x - 1.5.x
2.3.x 1.5.x - 1.4.x
2.2.x 1.5.x - 1.4.x
2.1.x 1.5.x - 1.4.x
2.0.x 1.4.x - 1.3.x
1
2
3
4
5
6
7
8
9
10
11
12

wget https://get.helm.sh/helm-v3.14.4-linux-amd64.tar.gz
#或者直接下载,然后上传至k8s的master节点

tar -xf helm-v3.14.4-linux-amd64.tar.gz
cd linux-amd64/
ls
helm LICENSE README.md

helm version
version.BuildInfo{Version:"v3.14.4", GitCommit:"81c902a123462fd4052bc5e9aa9c513c4c8fc142", GitTreeState:"clean", GoVersion:"go1.21.9"}

chart仓库管理

1
2
3
4
5
6
7
8
9
10
11
12
13
14
15
16
17
#添加chart仓库
helm repo add aliyun https://kubernetes.oss-cn-hangzhou.aliyuncs.com/charts
helm repo add bitnami https://charts.bitnami.com/bitnami

helm repo list
NAME URL
aliyun https://kubernetes.oss-cn-hangzhou.aliyuncs.com/charts
bitnami https://charts.bitnami.com/bitnami

#升级仓库
helm repo update

#删除仓库
helm repo remove aliyun

#搜索chart图表
helm search repo aliyun

helm使用

1
2
3
4
5
6
7
8
9
10
11
12
13
14
15
16
17
18
19
20
21
22
23
24
25
26
27
28
29
30
31
32
33
34
35
36
37
38
39
40
#搜索并下载
helm search repo aliyun | grep memcached
aliyun/mcrouter 0.1.0 0.36.0 Mcrouter is a memcached protocol router for sca...
aliyun/memcached 2.0.1 Free & open source, high-performance, distribut...

#查看chart信息
helm show chart aliyun/memcached

#拉取chart
helm pull aliyun/memcached
#memcached-2.0.1.tgz

#使用chart
tar -xf memcached-2.0.1.tgz
cd memcached/
ls
Chart.yaml README.md templates values.yaml

#这个chart的信息
cat Chart.yaml
description: Free & open source, high-performance, distributed memory object caching
system.
engine: gotpl
home: http://memcached.org/
icon: https://upload.wikimedia.org/wikipedia/en/thumb/2/27/Memcached.svg/1024px-Memcached.svg.png
keywords:
- memcached
- cache
maintainers:
- email: gtaylor@gc-taylor.com
name: Greg Taylor
name: memcached
sources:
- https://github.com/docker-library/memcached
version: 2.0.1

#chart的yaml
cd templates/
ls
_helpers.tpl NOTES.txt pdb.yaml statefulset.yaml svc.yaml

chart使用与部署

1
2
3
4
5
6
7
8
9
10
11
12
13
14
15
16
17
18
19
20
21
22
23
24
25
26
27
28
29
30
31
32
33
34
35
36
37
38
39
40
41
42
43
44
45
46
47
48
49
50
51
52
53
54
55
56
查看value.yaml文件,得到镜像为memcached:1.4.36-alpine

在node节点上拉取一下这个镜像并导入
docker save memcached:1.4.36-alpine -o memcache1.4.36.tar.gz
scp memcache1.4.36.tar.gz ws-k8s-node2:~
scp memcache1.4.36.tar.gz ws-k8s-node3:~

ctr -n=k8s.io image import memcache1.4.36.tar.gz

#修改statefulset文件
修改apiVersion: apps/v1;
如果节点数少,需要删除亲和性相关的内容
添加selector匹配标签,将后面的labels复制过去

rm -rf templates/pdb.yaml

#安装
helm install memcached ./

NAME: memcached
LAST DEPLOYED: Thu May 2 21:19:47 2024
NAMESPACE: default
STATUS: deployed
REVISION: 1
TEST SUITE: None
NOTES:
Memcached can be accessed via port 11211 on the following DNS name from within your cluster:
memcached-memcached.default.svc.cluster.local

#If you'd like to test your instance, forward the port locally:

export POD_NAME=$(kubectl get pods --namespace default -l "app=memcached-memcached" -o jsonpath="{.items[0].metadata.name}")
kubectl port-forward $POD_NAME 11211

In another tab, attempt to set a key:

$ echo -e 'set mykey 0 60 5\r\nhello\r' | nc localhost 11211

You should see:

STORED
#查看状态
kubectl get pods
NAME READY STATUS RESTARTS AGE
memcached-memcached-0 1/1 Running 0 13m
memcached-memcached-1 1/1 Running 0 13m
memcached-memcached-2 1/1 Running 0 13m

#根据提示进行测试
yum -y install nc
export POD_NAME=$(kubectl get pods --namespace default -l "app=memcached-memcached" -o jsonpath="{.items[0].metadata.name}")
kubectl port-forward $POD_NAME 11211
#第二终端
echo -e 'set mykey 0 60 5\r\nhello\r' | nc localhost 11211
#STORED
返回一个STORED说明正常安装了

自定义chart模板使用与管理

创建一个新的chart 名为app1

1
2
3
4
5
6
7
8
9
10
11
12
13
14
15
16
17
18
19
20
21
22
23
24
25
26
27
28
29
30
31
32
33
helm  create app1

cd app1/
tree .
.
├── charts
├── Chart.yaml # chart的描述文件
├── templates # 资源清单文件
│ ├── deployment.yaml
│ ├── _helpers.tpl
│ ├── hpa.yaml
│ ├── ingress.yaml
│ ├── NOTES.txt # 说明文件
│ ├── serviceaccount.yaml
│ ├── service.yaml
│ └── tests
│ └── test-connection.yaml
└── values.yaml # 变量文件

cat Chart.yaml
apiVersion: v2
name: app1
description: A Helm chart for Kubernetes #描述文件
type: application
version: 0.1.0 #chart版本
appVersion: "1.16.0" #被_helpers.tpl引用,最后成为了镜像版本

cat deployment中
include开头的都是使用_helpers.tpl文件的变量
.Value开头的变量都用values.yaml里的变量

cat _helpers.tpl
这是一个使用go语言编写的变量定义的模板

配置文件go模板的一些注释

1
2
3
4
5
6
7
8
9
10
11
12
13
14
15
16
17
18
19
20
21
22
23
24
25
26
27
28
29
spec:
{{- if not .Values.autoscaling.enabled }}
#如果values.yaml中,autoscaling.enabled 的值不是 true,则输出下面的语句
replicas: {{ .Values.replicaCount }}
{{- end }}

...
{{- with .Values.podAnnotations }}
#如果values.yaml中,有podAnnotations字段,则将其转换为yaml格式输出
annotations:
{{- toYaml . | nindent 8 }}
{{- end }}
#nindent就是空格
...
selector:
matchLabels:
{{- include "app1.selectorLabels" . | nindent 6 }}
# 插入模板app1.selectorLabels
...
image: "{{ .Values.image.repository }}:{{ .Values.image.tag | default .Chart.AppVersion }}"
#如果Values.image.tag未定义,则默认使用Chart.AppVersion
...
{{- with .Values.volumes }}
volumes:
{{- toYaml . | nindent 8 }}
{{- end }}
# 如果有设置Values.volumes,就会将其内容转换成yaml格式放进去
...

使用自定义chart模板

1
2
3
4
5
6
7
8
9
10
11
12
13
14
15
16
17
18
19
20
21
22
23
24
25
26
27
28
29
30
31
32
33
34
35
36
37
38
39
40
41
42
43
44
45
46
47
48
49
50
51
52
53
54
先根据deployment.yaml中image的设置去调整,另外的设置就先不调
修改values.yaml文件
image:
repository: nginx
pullPolicy: IfNotPresent
# Overrides the image tag whose default is the chart appVersion.
tag: "latest"
就用latest的nginx好了

#
找到service.yaml文件中的模板
找到service的type
type: {{ .Values.service.type }}
修改values.yaml为NodePort,方便测试

#测试yaml文件是否有问题
helm lint ~/helm/app1/

==> Linting /root/helm/app1/
[INFO] Chart.yaml: icon is recommended

1 chart(s) linted, 0 chart(s) failed

#安装
helm install nginx .
NAME: nginx
LAST DEPLOYED: Thu May 2 23:36:20 2024
NAMESPACE: default
STATUS: deployed
REVISION: 1
NOTES:
1. Get the application URL by running these commands:
export NODE_PORT=$(kubectl get --namespace default -o jsonpath="{.spec.ports[0].nodePort}" services nginx-app1)
export NODE_IP=$(kubectl get nodes --namespace default -o jsonpath="{.items[0].status.addresses[0].address}")
echo http://$NODE_IP:$NODE_PORT

#查看状态
kubectl get pods -owide
NAME READY STATUS RESTARTS AGE IP NODE NOMINATED NODE READINESS GATES
nginx-app1-6c8ddfccb5-wbbwb 1/1 Running 0 13s 10.244.193.143 ws-k8s-node3 <none> <none>

kubectl get deploy
NAME READY UP-TO-DATE AVAILABLE AGE
nginx-app1 1/1 1 1 65s

kubectl get deploy --show-labels
NAME READY UP-TO-DATE AVAILABLE AGE LABELS
nginx-app1 1/1 1 1 9m33s app.kubernetes.io/instance=nginx,app.kubernetes.io/managed-by=Helm,app.kubernetes.io/name=app1,app.kubernetes.io/version=1.16.0,helm.sh/chart=app1-0.1.0

#测试
export NODE_PORT=$(kubectl get --namespace default -o jsonpath="{.spec.ports[0].nodePort}" services nginx-app1)
export NODE_IP=$(kubectl get nodes --namespace default -o jsonpath="{.items[0].status.addresses[0].address}")
echo http://$NODE_IP:$NODE_PORT
http://192.168.10.121:30634

更新service的类型,动态升级release

1
2
3
4
5
6
7
8
9
10
11
12
13
14
15
16
17
18
19
20
21
22
23
24
25
26
27
28
29
30
31
32
33
34
35
36
37
38
39
40
41
42
43
44
45
46
47
48
49
50
51
helm upgrade --set service.type="ClusterIP" nginx .

Release "nginx" has been upgraded. Happy Helming!
NAME: nginx
LAST DEPLOYED: Thu May 2 23:59:10 2024
NAMESPACE: default
STATUS: deployed
REVISION: 2
NOTES:
1. Get the application URL by running these commands:
export POD_NAME=$(kubectl get pods --namespace default -l "app.kubernetes.io/name=app1,app.kubernetes.io/instance=nginx" -o jsonpath="{.items[0].metadata.name}")
export CONTAINER_PORT=$(kubectl get pod --namespace default $POD_NAME -o jsonpath="{.spec.containers[0].ports[0].containerPort}")
echo "Visit http://127.0.0.1:8080 to use your application"
kubectl --namespace default port-forward $POD_NAME 8080:$CONTAINER_PORT

#
export POD_NAME=$(kubectl get pods --namespace default -l "app.kubernetes.io/name=app1,app.kubernetes.io/instance=nginx" -o jsonpath="{.items[0].metadata.name}")
export CONTAINER_PORT=$(kubectl get pod --namespace default $POD_NAME -o jsonpath="{.spec.containers[0].ports[0].containerPort}")
echo "Visit http://127.0.0.1:8080 to use your application"
kubectl --namespace default port-forward $POD_NAME 8080:$CONTAINER_PORT
#http://127.0.0.1:8080

#测试
curl http://127.0.0.1:8080

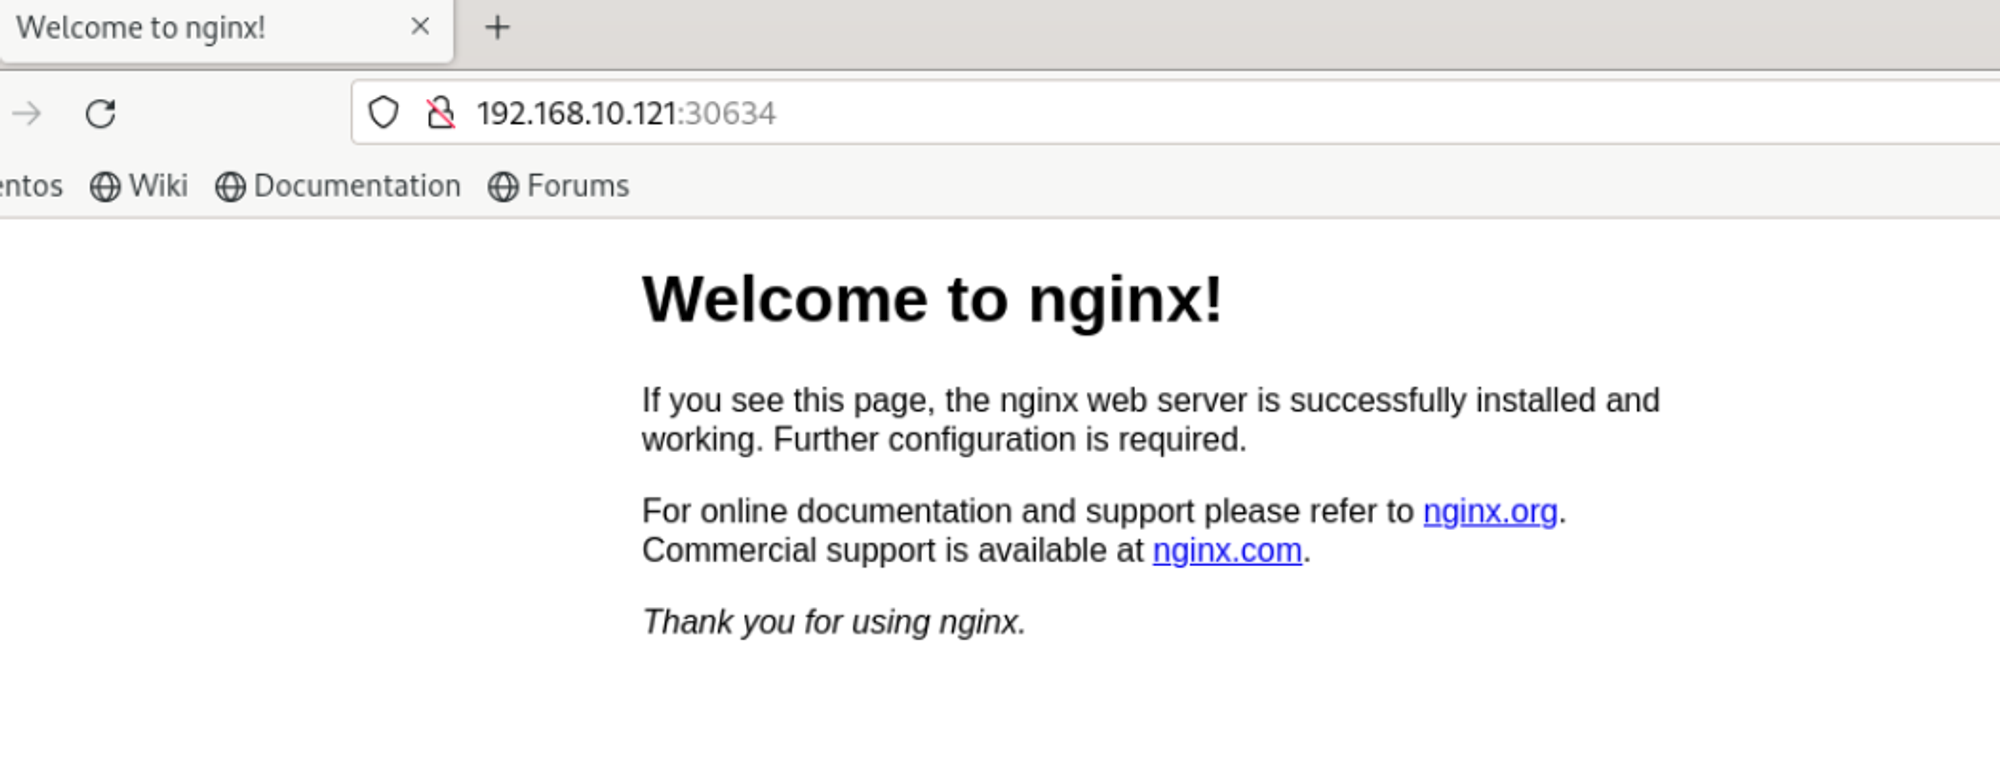
#回显
<!DOCTYPE html>
<html>
<head>
<title>Welcome to nginx!</title>
<style>
html { color-scheme: light dark; }
body { width: 35em; margin: 0 auto;
font-family: Tahoma, Verdana, Arial, sans-serif; }
</style>
</head>
<body>
<h1>Welcome to nginx!</h1>
<p>If you see this page, the nginx web server is successfully installed and
working. Further configuration is required.</p>

<p>For online documentation and support please refer to
<a href="http://nginx.org/">nginx.org</a>.<br/>
Commercial support is available at
<a href="http://nginx.com/">nginx.com</a>.</p>

<p><em>Thank you for using nginx.</em></p>
</body>
</html>

正常访问

回滚

1
2
3
4
5
6
7
8
9
10
11
12
13
14
15
16
查看历史版本
helm history nginx
REVISION UPDATED STATUS CHART APP VERSION DESCRIPTION
1 Thu May 2 23:36:20 2024 superseded app1-0.1.0 1.16.0 Install complete
2 Thu May 2 23:59:10 2024 deployed app1-0.1.0 1.16.0 Upgrade complete

回滚
helm rollback nginx 1
1是版本号
#Rollback was a success! Happy Helming!

查看状态
kubectl get svc | grep nginx
nginx-app1 NodePort 10.108.41.185 <none> 80:31882/TCP 32m

又变回了NodePort类型

打包helm package

1
2
3
4
5
6
7
8
9
10
11
12
13
14
15
16
17
18
19
20
21
22
23
24
25
26
27
28
29
30
31
32
33
34
35
36
37
38
39
40
41
42
43
44
45
46
47
48
49
50
51
52
53
54
55
56
57
58
59
60
61
62
63
64
65
66
67
68
69
70
71
72
73
74
75
76
77
78
79
80
81
82
83
84
85
86
87
88
89
90
91
92
93
94
95
96
97
98
99
helm package app1/
Successfully packaged chart and saved it to: /root/helm/app1-0.1.0.tgz

生成压缩包app1-0.1.0.tgz

压缩包互相传完之后解压
再直接
helm install nginx./
直接完事

查看chart状态:

helm get manifest nginx
---
# Source: app1/templates/serviceaccount.yaml
apiVersion: v1
kind: ServiceAccount
metadata:
name: nginx-app1
labels:
helm.sh/chart: app1-0.1.0
app.kubernetes.io/name: app1
app.kubernetes.io/instance: nginx
app.kubernetes.io/version: "1.16.0"
app.kubernetes.io/managed-by: Helm
automountServiceAccountToken: true
---
# Source: app1/templates/service.yaml
apiVersion: v1
kind: Service
metadata:
name: nginx-app1
labels:
helm.sh/chart: app1-0.1.0
app.kubernetes.io/name: app1
app.kubernetes.io/instance: nginx
app.kubernetes.io/version: "1.16.0"
app.kubernetes.io/managed-by: Helm
spec:
type: NodePort
ports:
- port: 80
targetPort: http
protocol: TCP
name: http
selector:
app.kubernetes.io/name: app1
app.kubernetes.io/instance: nginx
---
# Source: app1/templates/deployment.yaml
apiVersion: apps/v1
kind: Deployment
metadata:
name: nginx-app1
labels:
helm.sh/chart: app1-0.1.0
app.kubernetes.io/name: app1
app.kubernetes.io/instance: nginx
app.kubernetes.io/version: "1.16.0"
app.kubernetes.io/managed-by: Helm
spec:
replicas: 1
selector:
matchLabels:
app.kubernetes.io/name: app1
app.kubernetes.io/instance: nginx
template:
metadata:
labels:
helm.sh/chart: app1-0.1.0
app.kubernetes.io/name: app1
app.kubernetes.io/instance: nginx
app.kubernetes.io/version: "1.16.0"
app.kubernetes.io/managed-by: Helm
spec:
serviceAccountName: nginx-app1
securityContext:
{}
containers:
- name: app1
securityContext:
{}
image: "nginx:latest"
imagePullPolicy: IfNotPresent
ports:
- name: http
containerPort: 80
protocol: TCP
livenessProbe:
httpGet:
path: /
port: http
readinessProbe:
httpGet:
path: /
port: http
resources:
{}

原文作者:王盛

原文链接:https://akemi.zj.cn/2024/05/06/Helm/

发表日期:May 6th 2024, 5:55:04 pm

更新日期:February 20th 2025, 6:37:27 pm

版权声明:本文采用知识共享署名-非商业性使用 4.0 国际许可协议进行许可

CATALOG
  1. 1. 概述
  2. 2. Helm部署
  3. 3. chart仓库管理
  4. 4. helm使用
  5. 5. chart使用与部署
  6. 6. 自定义chart模板使用与管理
    1. 6.1. 配置文件go模板的一些注释
    2. 6.2. 使用自定义chart模板
    3. 6.3. 更新service的类型,动态升级release
    4. 6.4. 回滚
    5. 6.5. 打包helm package